Converty and Squoosh solve related problems, but they do not optimize for the same moment in the workflow. If you compare them as if they were interchangeable, the choice feels fuzzy. If you compare them by job-to-be-done, the decision gets much clearer.
Squoosh is strongest when you want to spend time with one image, inspect the output closely, experiment with codecs, and tune the settings until the result feels exactly right. Converty is strongest when the image decision is already narrow and you want to move through a real batch quickly: upload the files, choose a practical preset, review the size deltas, and download the results without turning the task into a compression workshop.
That is why the useful comparison is not "which tool is better?" The useful comparison is "which tool fits the next thirty minutes of work?"
Choose Squoosh when the image itself is the project
Squoosh is an image lab. That is its advantage. If you are tuning a hero image, experimenting with codec settings, or comparing output quality at a more hands-on level, the extra control is worth the slower pace. You are not trying to clear a queue. You are trying to make a better judgment on one or two important assets.
That matters for designers, performance specialists, or frontend engineers who want to understand exactly how a single image behaves under different settings. In that context, deeper control is not overhead. It is the point of the exercise.
The tradeoff is that the workflow is more manual. If your real problem is not the image itself but the fact that eight files need to get smaller before publishing, codec exploration can become unnecessary ceremony.
Choose Converty when the batch is the job
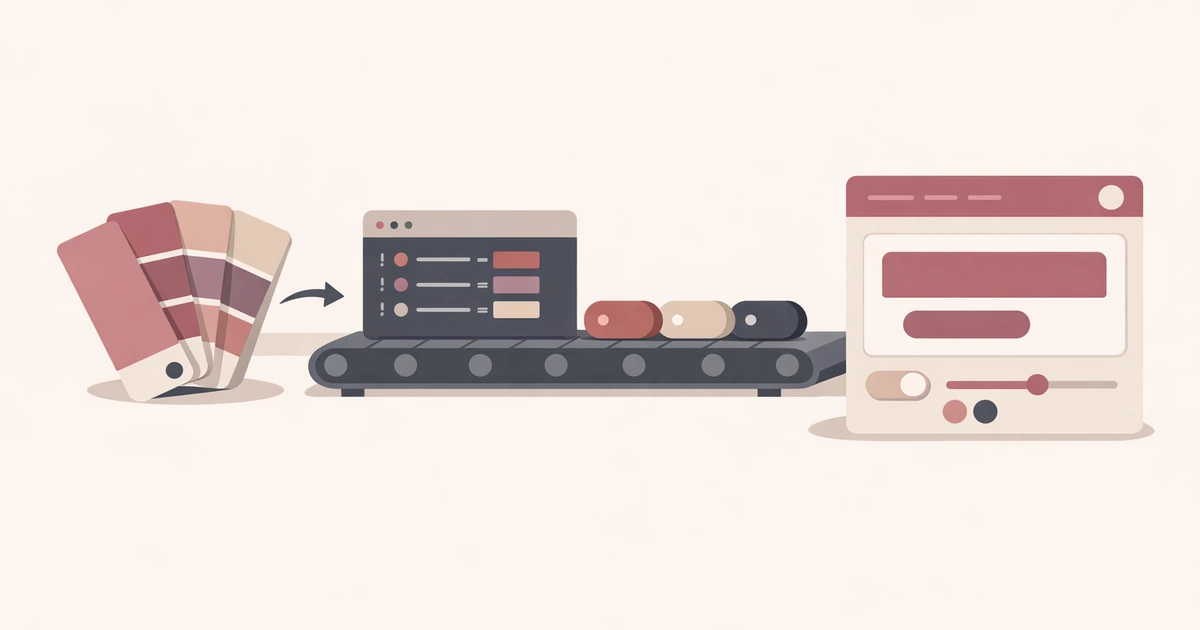
Converty's WebP Converter is built for the more ordinary situation: a mixed batch of JPEG, PNG, or WebP inputs needs to move through conversion quickly, and the only decision that should really slow you down is whether the result is worth keeping.
That is why the product uses three presets, supports up to ten files at a time, and gives you a ZIP export for the results. The workflow assumes the question is operational, not experimental. You already know you want WebP. You just need to get from source files to reviewed outputs without opening a deeper image workstation than the task justifies.
This is especially useful for documentation teams, marketers, founders shipping launch assets, or developers cleaning up screenshots and supporting graphics before a release. The work is real. It just does not need a lab.
The real difference is where each tool spends your attention
Squoosh spends your attention on the image. Converty spends your attention on the batch. That sounds small, but it is the whole decision.
If you are working on a single hero asset, spending more time on the image is a rational choice. If you are trying to compress product screenshots, support images, and blog graphics before publish, spending that same attention on every file is usually a waste. What you need instead is a clear review surface: how much smaller did each file get, which ones still look strong, and which ones should be kept or rerun?
That is exactly where Converty is strongest. The product is not trying to beat an image lab at being an image lab. It is trying to shorten the routine path from upload to decision.
A realistic release-day example
Imagine a small team shipping a blog post, changelog, and landing-page update on the same day. They have a handful of screenshots, a few product illustrations, and one or two secondary marketing visuals. Nobody wants to hand-tune every file. They want the batch cleaned up, reviewed, and exported fast.
That is a Converty-shaped job. Start with How to Choose the Right WebP Quality Preset, run the batch through WebP Converter, review the deltas, and only revisit the files that need special treatment.
Now change the scenario. There is one hero image for the homepage, and the team wants to test multiple compression outcomes before finalizing it. That is a Squoosh-shaped job. The extra control is no longer overhead because the image itself is where the value lives.
What each tool is worse at
Converty is worse when you need codec-level experimentation, deeper single-image inspection, or a more open-ended compression lab. If the whole task is about tuning one important asset precisely, a preset-based batch tool is not the best fit.
Squoosh is worse when the important variable is not one image but the speed of clearing a queue. It can absolutely process images, but the workflow asks for more attention per file than many routine publishing tasks deserve.
That is why fair comparison matters. Converty is not a replacement for every image-optimization workflow, and Squoosh is not the fastest answer to every batch problem. Each one wins in the scenario it was clearly built for.
Use the comparison to choose the next step, not to win an argument
The best comparison posts help you decide what to do next. They do not pretend the tools compete on every dimension equally.
If you are trying to clear routine web assets fast, start with How to Convert PNG and JPG to WebP Without Extra Software for the broader Converty workflow, then use How to Choose the Right WebP Quality Preset to make the conversion pass shorter and more intentional. If your concern is that some files did not actually shrink, Why a WebP File Can Be Larger Than the Original explains what to review next.
The faster tool is the one that matches your attention budget
For quick WebP batches, the better tool is usually the one that spends the least unnecessary attention. That is Converty's advantage. For deeper one-image tuning, that advantage shifts toward Squoosh.
Open the WebP Converter if your next task is a practical batch, use the FAQs for handling details, revisit How to Convert PNG and JPG to WebP Without Extra Software for the full flow, and pair this comparison with How to Choose the Right WebP Quality Preset when the choice is already Converty and the next decision is simply how aggressive the conversion should be.