Most PNG-to-WebP or JPG-to-WebP work starts as housekeeping: a batch of docs screenshots, product assets, or marketing images that needs to shrink before publishing. The delay usually comes from handling the batch cleanly, not from understanding the format.
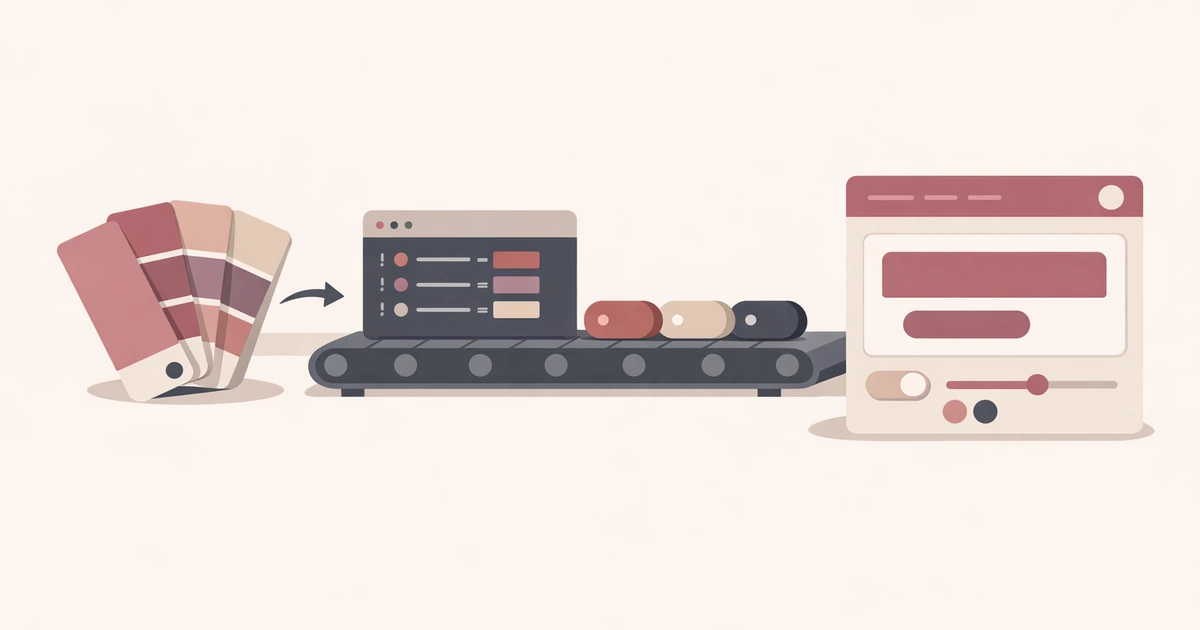
The WebP Converter in Converty keeps that housekeeping in one pass. Upload up to 10 mixed JPEG, PNG, or WebP files, pick High, Balanced, or Smallest, compare the file-size deltas, and download each result on its own or as one ZIP export.
If you want the broader tour of the utility set, start with Introducing Converty. If you want the shared answers about privacy, batch limits, and supported formats before uploading anything, the FAQs cover that directly.
Why PNG and JPG to WebP conversion often turns into extra busywork
On paper, converting images sounds trivial. In practice, teams usually hit the same friction points:
- product and content teams work with mixed
PNGandJPEGinputs - one image set needs high fidelity, while another should be compressed more aggressively
- the fastest tool does not always tell you when the output is larger than the source
- batch conversion is common, but downloading results one by one wastes time
That combination is what makes small image tasks disruptive. You usually just want to reduce file weight, check the result, and move on.
Converty keeps the job focused. It accepts small batches, gives you three quality presets, surfaces file-size deltas clearly, and lets you export the full batch as a ZIP. That matters because image optimization is rarely one isolated file. It is usually part of a content upload, landing page update, documentation refresh, or product asset cleanup pass.
How to convert PNG and JPG to WebP without extra software
The easiest way to convert PNG and JPG to WebP without extra software is to use one tool that handles the whole workflow in place. In Converty, the steps are straightforward:
- Open the WebP Converter.
- Add up to 10
JPEG,PNG, orWebPfiles. - Choose a quality preset:
High,Balanced, orSmallest. - Run the conversion and review the size change on each result.
- Download one file at a time or export the full batch as a ZIP.
That structure is what makes the tool feel complete. You are not sent to a second screen for packaging, and you are not forced to guess what happened after compression. If a converted file ends up larger than the original, Converty flags it so you can decide whether to keep it.
This is especially helpful when a batch mixes image types. A JPEG and a PNG do not always respond the same way to compression. Some sources shrink cleanly, while others are already optimized enough that a new WebP export offers little benefit. The tool gives you the result and the context you need to judge it.
Choosing the right preset without overthinking it
One reason people delay image cleanup is that quality settings look more technical than they really are. Converty reduces that decision to three clear presets.
| Preset | Best for | Tradeoff |
|---|---|---|
| High | Images where preserving detail matters most | Lightest compression and larger output than more aggressive presets |
| Balanced | Most everyday web content | Middle ground between clarity and file size |
| Smallest | Asset sets where download weight matters more than fine detail | Stronger compression and more visible detail loss on some files |
You do not need to treat these as permanent policy decisions. They are practical starting points:
- use
Highwhen you want to preserve detail and are less concerned about size - use
Balancedwhen you want a safer default for most web work - use
Smallestwhen the file weight matters more than retaining every detail
That is enough for most real workflows. You can move quickly, compare the outputs, and keep what makes sense.
What makes Converty simpler than the usual patchwork process
The main benefit is not the conversion alone. The value is that the workflow stays short and predictable.
Converty combines the parts that are usually split across multiple steps:
- mixed-format uploads for
JPEG,PNG, andWebP - a practical batch limit for small production tasks
- preset-based compression instead of low-level tuning
- clear size feedback on every result
- individual downloads plus a bundled ZIP export
That combination makes it useful for common scenarios such as:
- compressing a small set of blog or CMS images before publishing
- preparing marketing assets for a landing page refresh
- checking whether an older image library should be re-exported
- testing whether a chosen preset is worth the tradeoff
If your workflow also includes browser and app icon assets, pair this with the favicon package guide. The two guides cover different parts of the same asset-preparation process.
Common mistakes this tool helps you avoid
A lot of image tooling fails at the last 10 percent of the task. The conversion may work, but the usability around it is weak. Converty prevents several common problems:
Assuming every WebP export is smaller
That assumption causes avoidable mistakes. Some files are already optimized, or the chosen preset is not aggressive enough to reduce size meaningfully. Converty flags larger outputs so you can review them instead of silently replacing the source with a heavier file.
Losing time on one-by-one downloads
A batch workflow is only efficient if the export step matches it. When you convert multiple files, ZIP download support matters. Converty keeps that handoff simple with a single archive option.
Treating all source images as if they behave the same
JPEG and PNG sources do not compress in identical ways. Using one interface for both is useful, but reviewing the output still matters. The preset system helps you move quickly without pretending every file needs the same choice.
Adding yet another install for a small one-off task
Not every team wants a terminal workflow or a desktop app for routine conversion work. Converty keeps the job in the browser and avoids the setup overhead that often makes small tasks feel bigger than they are.
Short FAQ
Which formats and batch sizes does Converty support?
The WebP converter accepts up to 10 JPEG, PNG, or WebP files in one batch.
Are uploaded images stored after conversion?
Converty processes uploaded images only for as long as the requested conversion needs to finish. For more detail across the full site, review the FAQs.
How should I choose between High, Balanced, and Smallest?
Use High when preserving detail matters most, Balanced for the default middle ground, and Smallest when download size matters more than fine detail.
What if the WebP file ends up larger than the original?
That can happen when the source is already highly optimized or does not benefit much from the chosen preset. Converty surfaces that result so you can decide whether to keep it.
A cleaner way to handle routine image optimization
If you regularly need to convert PNG and JPG to WebP without extra software, the real win is reducing the friction around the task. Converty makes that easier by combining upload, preset selection, result review, and download packaging in one short workflow.
Start with the WebP Converter when you need the direct tool, read Introducing Converty for the broader utility workflow, and keep the favicon generator guide nearby if your next step is packaging site icons from the same asset set.