Generating favicons is mostly packaging work. You already have the source artwork; the real task is turning it into the icon bundle a site needs for browser tabs, mobile shortcuts, Android surfaces, and a starter manifest without missing a file.
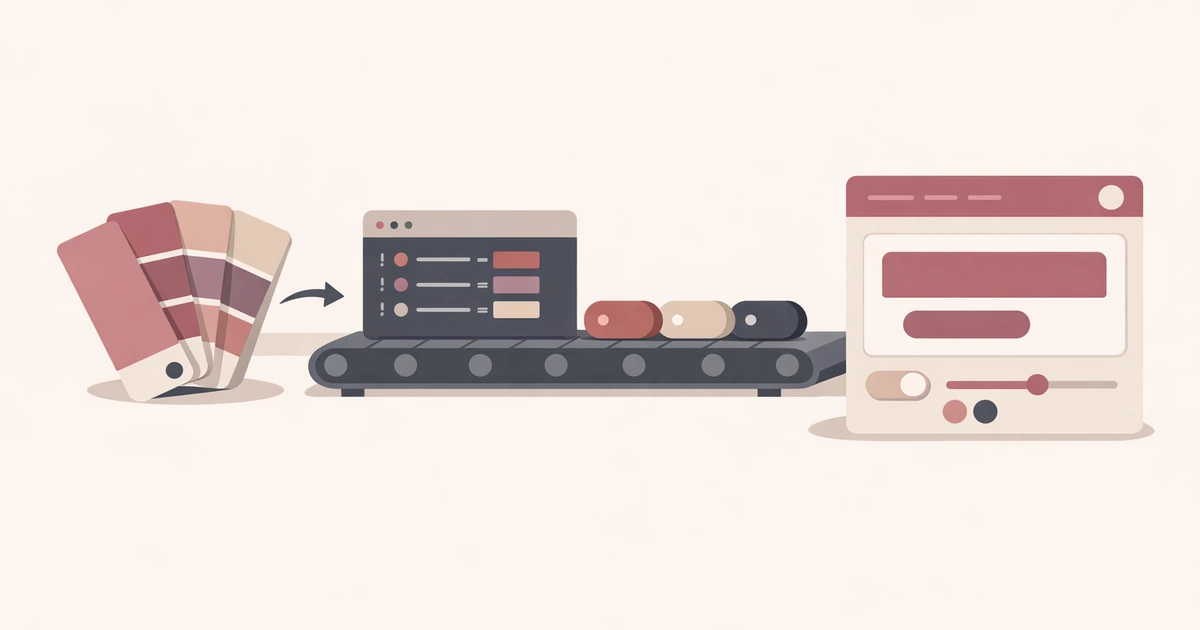
The Favicon / App Icon Generator in Converty does that bundling from one square source image. Upload once, review the package, and download a ZIP with favicon.ico, common PNG sizes, Apple touch icons, Android-ready icons, and a starter site.webmanifest.
If you want to see how favicon generation fits into the rest of the utility set, start with Introducing Converty. If you want the shared answers about uploads and supported formats, check the FAQs.
Why favicon generation turns into repetitive launch work
A favicon package sounds simple until you have to ship it. Then the checklist gets longer:
- browser tab icon formats
- common
PNGsizes - Apple touch icons
- Android-ready icons
- a starter web manifest
It is not complex engineering, but it is repetitive work that still needs to be correct. The problem is usually not difficulty. It is fragmentation. Teams bounce between image editors, generators, and manual file packaging when the job could be one short workflow.
Converty makes the process simpler by turning one source image into the bundle you are most likely to need, instead of requiring a separate step for every icon target.
How to generate a complete favicon package from one image
The cleanest way to generate a complete favicon package from one image is to start with a source that already works at small sizes, then let one tool assemble the package.
In Converty, the workflow looks like this:
- Open the Favicon / App Icon Generator.
- Upload one square
PNG,JPEG, orWebPimage. - Enter the app or site name if needed.
- Decide whether to enable the circular icon option.
- Generate the package and download the ZIP.
The tool then prepares the asset bundle and shows you what is included. That matters because favicon generation is not only about output. It is also about knowing whether the package covers the common browser and app surfaces you care about.
What the generated package includes
Converty keeps the package focused on the practical core set of favicon and app icon assets.
| Asset type | Why it is included | Why it helps |
|---|---|---|
favicon.ico | Traditional browser tab support | Covers the most familiar favicon use case |
Multiple PNG sizes | Common icon targets across modern browsers and surfaces | Reduces manual export work |
| Apple touch icons | Touch icon support for Apple devices | Helps cover mobile bookmark and shortcut surfaces |
| Android-ready icons | Icon targets for Android-related web app use | Keeps the package broader than browser-only usage |
site.webmanifest starter | Manifest-ready setup support | Gives you a practical starting point for deployment |
This is where the tool feels complete. You are not generating a single icon and then remembering the rest later. The ZIP is designed to cover the common package members together.
Source artwork matters more than people expect
The tool can generate the package, but the quality of the result still depends on the source image. Converty’s own guidance is straightforward: the source works best when it is square, simple, and readable at small sizes.
That matters because favicon targets are tiny. Detailed artwork, edge-to-edge logos, and fine visual texture often degrade when reduced to small icons. Clean shapes, simple marks, and adequate padding generally produce sharper results across the export set.
In practical terms, the best source image usually has:
- a square aspect ratio
- a clear silhouette
- enough empty space around the mark
- fewer tiny details that would disappear at small sizes
Using one strong source file saves more time than trying to repair weak small-size exports later.
What the circular option actually changes
Converty includes a Circular option, but it is important to use it with the right expectation. The tool applies the circular treatment to browser and Android icon outputs while Apple touch icons stay square.
That makes the option useful when your brand mark looks better inside a circular frame but you still want Apple surfaces to keep their usual full-square treatment. It is not a universal restyling toggle across every exported asset. It is a targeted option for part of the package.
What to do after you download the ZIP
The ZIP is the repetitive export work already handled for you, but it is not the end of the deployment flow. After download, you still need to place the generated files into the public assets of the app or site that will serve them and reference the relevant icons and manifest there.
That sounds obvious, but it is worth being explicit about it. A complete generator should shorten the asset-preparation step while still keeping the handoff clear. Converty does that by bundling the package and describing the contents rather than leaving you to reconstruct what was created.
If your asset workflow also includes compressing images for the web before packaging icons, pair this guide with the WebP conversion guide.
Common mistakes this tool helps you avoid
Exporting only one or two icon files and forgetting the rest
That is the classic favicon problem. Converty packages the core favicon, common PNG sizes, Apple touch icons, Android-ready icons, and a starter manifest together.
Starting from artwork that does not survive small sizes
The tool works best when the source image is square, simple, and readable at reduced dimensions. That is why source preparation matters.
Expecting the circular option to affect every output in the same way
It does not. Browser and Android icons are rounded, while Apple touch icons stay square.
Treating the ZIP as deployment on its own
The generator saves the packaging work, but the files still need to be added to the site or app that will serve them.
Short FAQ
What kind of source image works best?
A square PNG, JPEG, or WebP image with a clear mark, enough padding, and good readability at small sizes.
Which files are included in the package?
The ZIP includes favicon.ico, multiple PNG sizes, Apple touch icons, Android-ready icons, and a starter site.webmanifest.
What does the circular option change?
It rounds the browser and Android icon outputs, while Apple touch icons remain square.
What should I do with the ZIP after generation?
Add the generated assets to your public project files and reference the icons and manifest from the app or site that will serve them.
A more practical way to finish icon packaging
If you need to generate a complete favicon package from one image, the real goal is to remove the repetitive export and bundling work that surrounds a launch or refresh. Converty makes that easier by turning one square source file into a more complete, deployment-ready asset set in one short flow.
Open the Favicon / App Icon Generator when you need the tool directly, use Introducing Converty for the broader utility context, and keep the WebP conversion guide nearby if your asset preparation workflow starts with compressing the source image set first.